How to make laminated dough.
Every laminated dough, be it puff pastry, croissant, flaky pastry or Danish, begins its life as a thick slab of butter encased in a dough “envelope”. This 3-layer dough-butter-dough package is then flattened and folded however many times it takes to get the number of layers the maker is after. A folded flaky pastry for say, a galette, can have as few as 27 layers. Croissants often have 81, Danish 243, and puff pastry can have as many as 2187 (though I prefer the less flaky version of 729).
What these oddly specific numbers have in common is that they’re all factors of the number 3. 243 is three to the fifth power which is what you get when you “turn” (i.e. execute a letter fold on) a three-layer dough five times. Pretty neat stuff that requires nowhere near the work you’d think. So let’s begin then, shall we?
Puff pastry (which is the specific dough I’m making here) is one of the easier laminated doughs. Its composition is easy enough to remember: for every pound of butter, one pound of flour and one cup of water, plus one teaspoon each of salt and lemon juice. It begins not unlike a pie crust, by rubbing a small quantity (about 5%) of the butter into the flour and salt mixture:

Once that’s done just enough of the water/lemon juice mixture is added to bring the dough together. As with all laminated doughs, it’s best to knead it as little as possible, since you want to activate as little gluten as you can. Notice the finished dough looks a bit dry and shaggy:

Park that on the counter for 20 minutes and meanwhile make the butter block. It’s a pretty straightforward affair, requiring only the most rudimentary tools, primarily this:
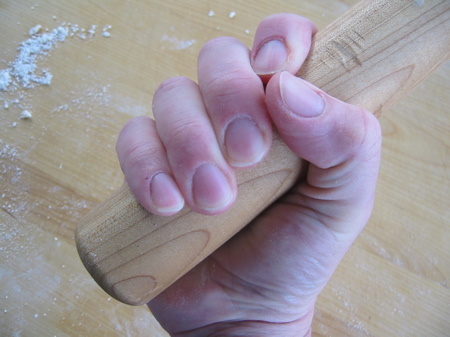
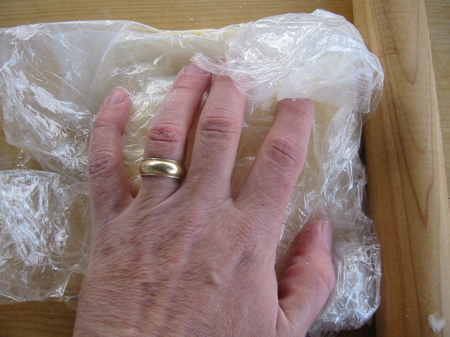
A club. Actually a Chinese rolling pin, but the overall effect is the same. Next we need a some butter, large pieces, ideally left out of the fridge for about 20 minutes. Below is about a pound of it sitting on a double layer of plastic wrap. It’s the minimum I usually work with, since I figure if I’m going to the trouble of rolling pastry, I’d like to have some left over to freeze. Notice there’s a little flour on top. That helps the butter maintain its consistency longer, which is important for reasons you’ll soon see.
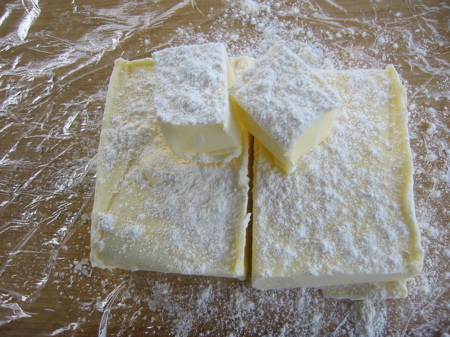
So now all we do is cover the butter and flour with another double-thick layer of plastic, and apply Club A to Butter Pile B.
Repeat. Repeat. Repeat. Feel good? You bet it does. And if your spouse and/or children aren’t running into the room looking terror-stricken, you’re not hitting hard enough. Keep letting out your pent-up frustration until it looks rather flat. Take off the plastic wrap (don’t worry if you’ve beaten a couple of holes in it) and using a knife or bench scraper cut it into a rough square and pile the trimmings back up on top. Repeat the merciless beating.
What’s it all for other than stress release? Good question. What you’re shooting for here is a butter consistency rather like play dough. Not too firm, since you want it to spread as you roll the dough out. But then not too soft either, since if the butter actually melts it’ll soak into the dough and ruin the layering effect. What you’re after is a plastic texture that isn’t at all greasy looking or feeling. If the butter starts to shine, it’s too warm. Put it back in the fridge for half an hour and start over with the tension release (hey, why not?).
The magic texture may take only one good pounding. It all depends on the temperature of the butter and the room. That consistency looks like this: a
pale, dull powdery-looking surface.
Once you’re there you want to lightly shove it back into the shape of a big butter pat, using the side of your club, like so:
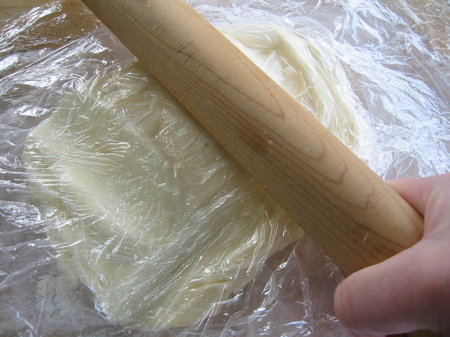
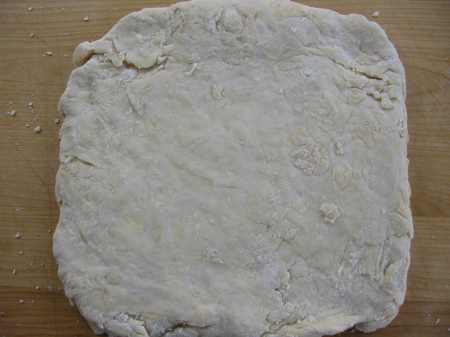
Set it aside for a moment. Now is the time to retrieve your dough and roll it out into a square slightly larger than the butter pat. Don’t worry if it looks scaly and nasty, all will be made right in the end.
Put the butter pat on top like so…

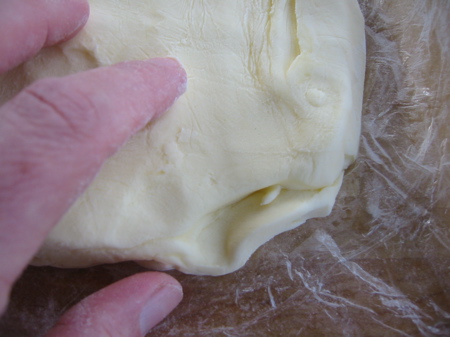
And begin to fold it up:
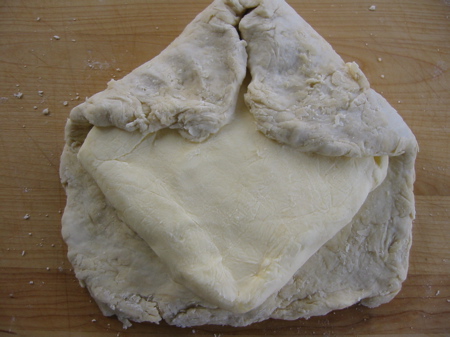

As you’re doing this you want to pull the dough up around the corners and edges to make sure it’s as taught as reasonably possible. Next squeeze the all the holes and seams closed (use a little water if you like):
So now what do you think is next? If you guessed more of this:
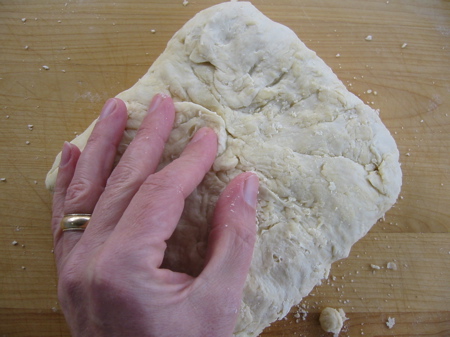
…you’d be right. Because when making pastry, violence is always the first resort. You want to start by making cross-shaped impressions in the dough…

…then start whacking the envelope at perpendicular angles. The point of all this: to drive the softened butter as far as possible to the edges of the packet.
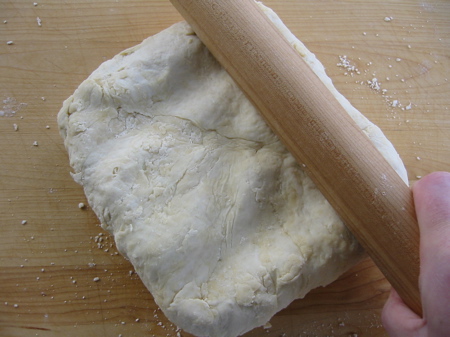
Smack it, then rotate the package a quarter turn and do the next edge. Smack, turn. Smack, turn. Smack, turn. And of course along the way if you see any conspicuous mounds of butter push up in the middle, give them a smack for good measure (no need to discriminate). A minute or two of this and the dough should be starting to flatten out, which means it’s time to produce the rolling pin. Here a big ol’ honkin’ 25-inch pin is nice, but a small one will work too if that’s all you’ve got.
If you’ve beaten the envelope with sufficient ferocity, there should be butter within half an inch of all the edges. If not, it’s not the end of the world. Just grab the bench scraper and trim the dough until you can either see a thin layer of butter, or you can feel it close to the edge. Next give the dough a couple of more firm rolls with the pin until it’s about a third longer than it is wide.
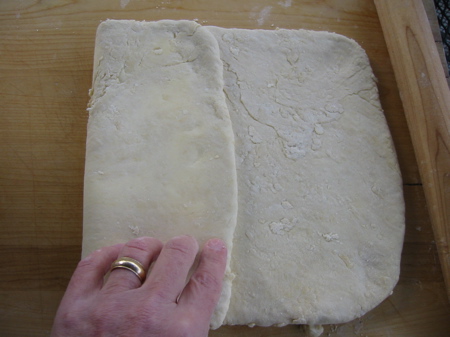
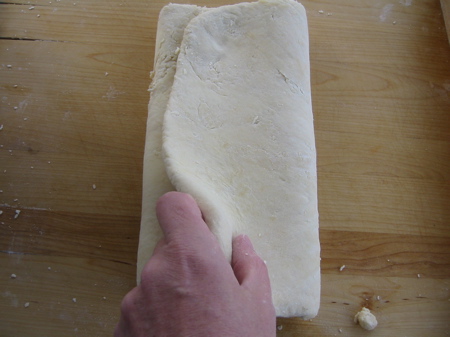
At which point you brush any residual flour off of the inside and just fold it like a letter:
Repeat the rolling and folding process once more and park the dough on a cookie sheet in the fridge for 15-20 minutes.
Having crested the difficulty hill, it is now time to crack a celebratory beer, because it’s all smooth sailing from here (whatever that curious mixture of metaphors means). All you have to do is pull the dough out every so often and give a turn or two depending on the dough you’re making.
In the early stages of a dough-rolling project, I find I can get away with two turns between chills. But judge for yourself. If the dough is feeling extremely limp, you find that you’re breaking layers just by handling it, or butter oozes out looking shiny, give it more fridge time. Alternately, if as you roll you notice that the butter just under the surface of the dough is rigid and breaking apart like icebergs off the Antarctic ice sheet, give it a little less.
If I’m making puff pastry (which requires six turns minimum), I can usually do two turns at a time early on. Much past four turns though, and the dough begins to get a.) elastic and b.) warm. So I let the dough chill for 20 minutes before the fifth and sixth turns, and half an hour for the seventh (if I’m doing one).
Once it’s all done I typically roll the dough into a long strip, cut it into roughly pound-size pieces, and freeze it in bags. Boy does this stuff ever come in handy.