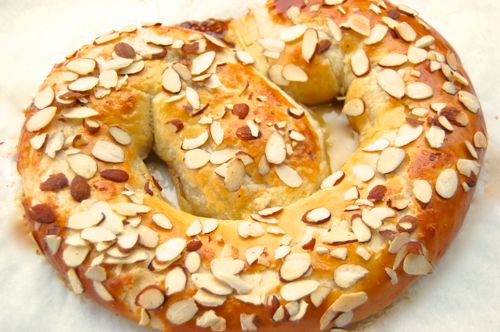
Making Kringle…Again
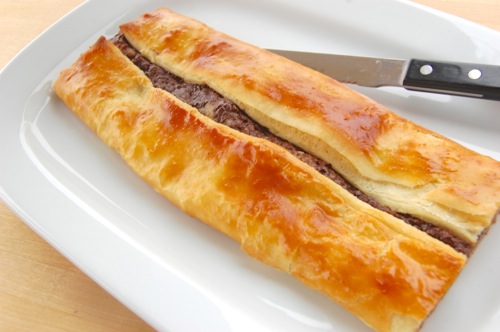
A strip-style kringle is more of an American (or at least a Racine, Wisconsinite) thing, though reader Jo recently sent me a link to a picture of a Danish chocolate kringle that was done this way (thanks, Jo!). As you can see it’s a whole different presentation, and kinda cool in its own way. You simply lay out your dough piece and spread your filling down the middle. You may need to roll it a little wider, just so everything fits.
READ ON