The Classic Cardinal Slice
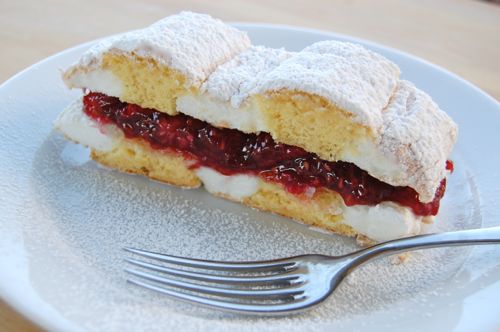
Here is what I’m told on good authority is a classic cardinal slice: two meringue-layfinger layers sandwiching raspberry jam. Of course because I can’t leave anything alone I stirred lots of fresh raspberries into the jam and spiked the whole mess with kirsch. Hello Vienna!
READ ON