Baked Alaska is so old-school, even the old-school recipe books I have attempt to put a modern twist on it: mini baked Alaska, four-level baked Alaska, triple fudge baked Alaska. Wow. You know you’re dealing with a throwback when even the ol’ fuddy duddies think it’s a fuddy duddy dessert. But I say: embrace pastry atavism! Love the classic! Just a big mound of ice cream covered in meringue (and baked).
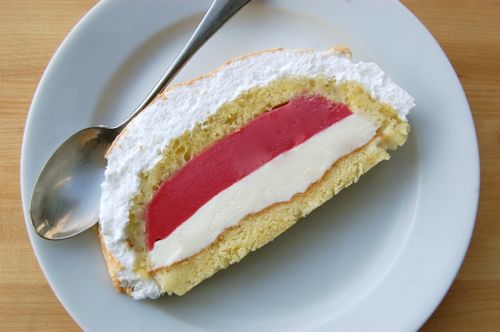
There are many, many ways to prepare baked Alaska. A dome mold is standard, but loaf pans are common. Layer cake pans and springform pans are also sometimes used. I myself favor the free-form approach using no pan and just two layers of ice cream or sorbet. You can use any combination of flavors you wish, either store bought or homemade. Roland Mesnier (the only contemporary pastry chef I found that’s even willing to entertain putting a baked Alaska recipe in a cookbook) recommends a combination of vanilla ice cream (made with honey instead of sugar as a sweetener) and raspberry sorbet. Sounds good to me!
READ ON