Making Crème Mousseline
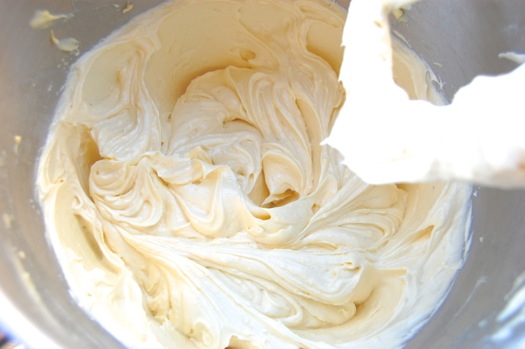
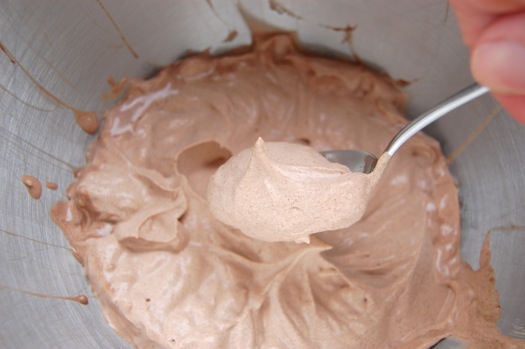
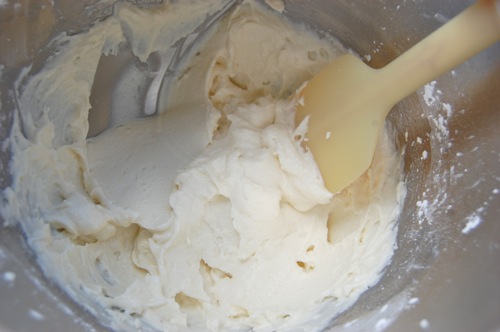
Crème mousseline — also known as German buttercream — is a silky and decadent combination of pastry cream and butter. It’s often used as a filling, though it works just as well as a frosting, as the “buttercream” moniker implies. The proportions for crème mousseline are 2 cups pastry cream to one cup very soft butter. Yeah, I know. Wow.
READ ON