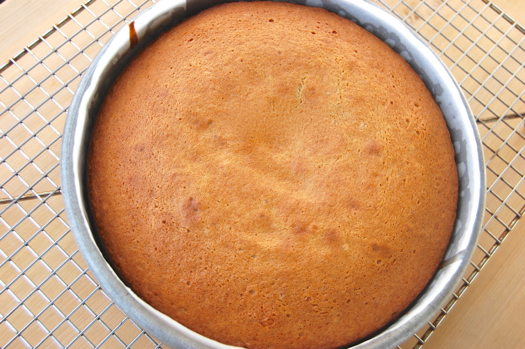
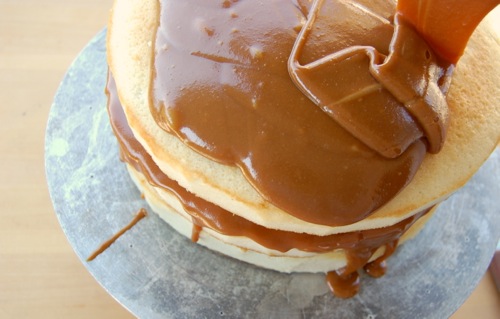
Making White Cake Layers
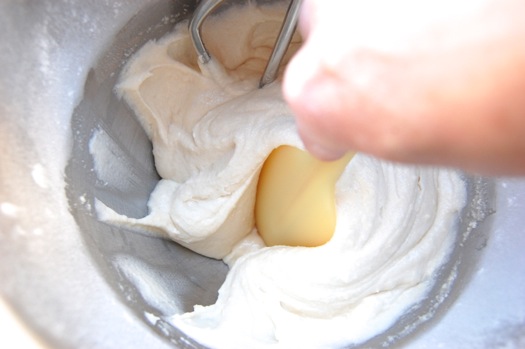
White layers are gorgeous — and very “spring-like” — especially when accompanied by a light-colored frosting and filling (I’m thinking especially of a citrus curd of some kind). Making them is no more difficult that making any other one-bowl-type cake layer. Start by preheating your oven to 350 degrees Fahrenheit and assembling your ingredients. Sift the cake flour into your mixer bowl:
READ ON